I built UptimeObserver because I was tired of finding out my projects were down via angry DMs on Twitter. The worst part wasn’t fixing the server; it was trying to write a professional, calm status update while privately panicking.
Downtime is inevitable. Whether it’s a botched deployment, a server overload, or an expired SSL certificate, your website or application will eventually go offline.
But downtime itself usually isn’t what ruins your reputation—silence is.
When users encounter a 502 Bad Gateway and check your Status Page only to find it saying “All Systems Operational,” they lose trust. An Incident Communication Plan is your playbook for how you handle outages.
Historically, corporate guides act like everyone has a 24/7 DevOps team and a dedicated PR department. But if you run a small business, a SaaS, or an agency, you wear all the hats. It’s usually just you or a tiny team scrambling to figure out what broke. Here is how to build a highly automated, stress-free incident communication plan built for small, agile teams.
Step 1: Automate the Initial Outage Announcement
The most critical moments of an outage are the first 3 minutes. Your customers shouldn’t be the ones telling you your site is down, and you definitely shouldn’t waste precious minutes writing an initial status page update when you should be looking at server logs.
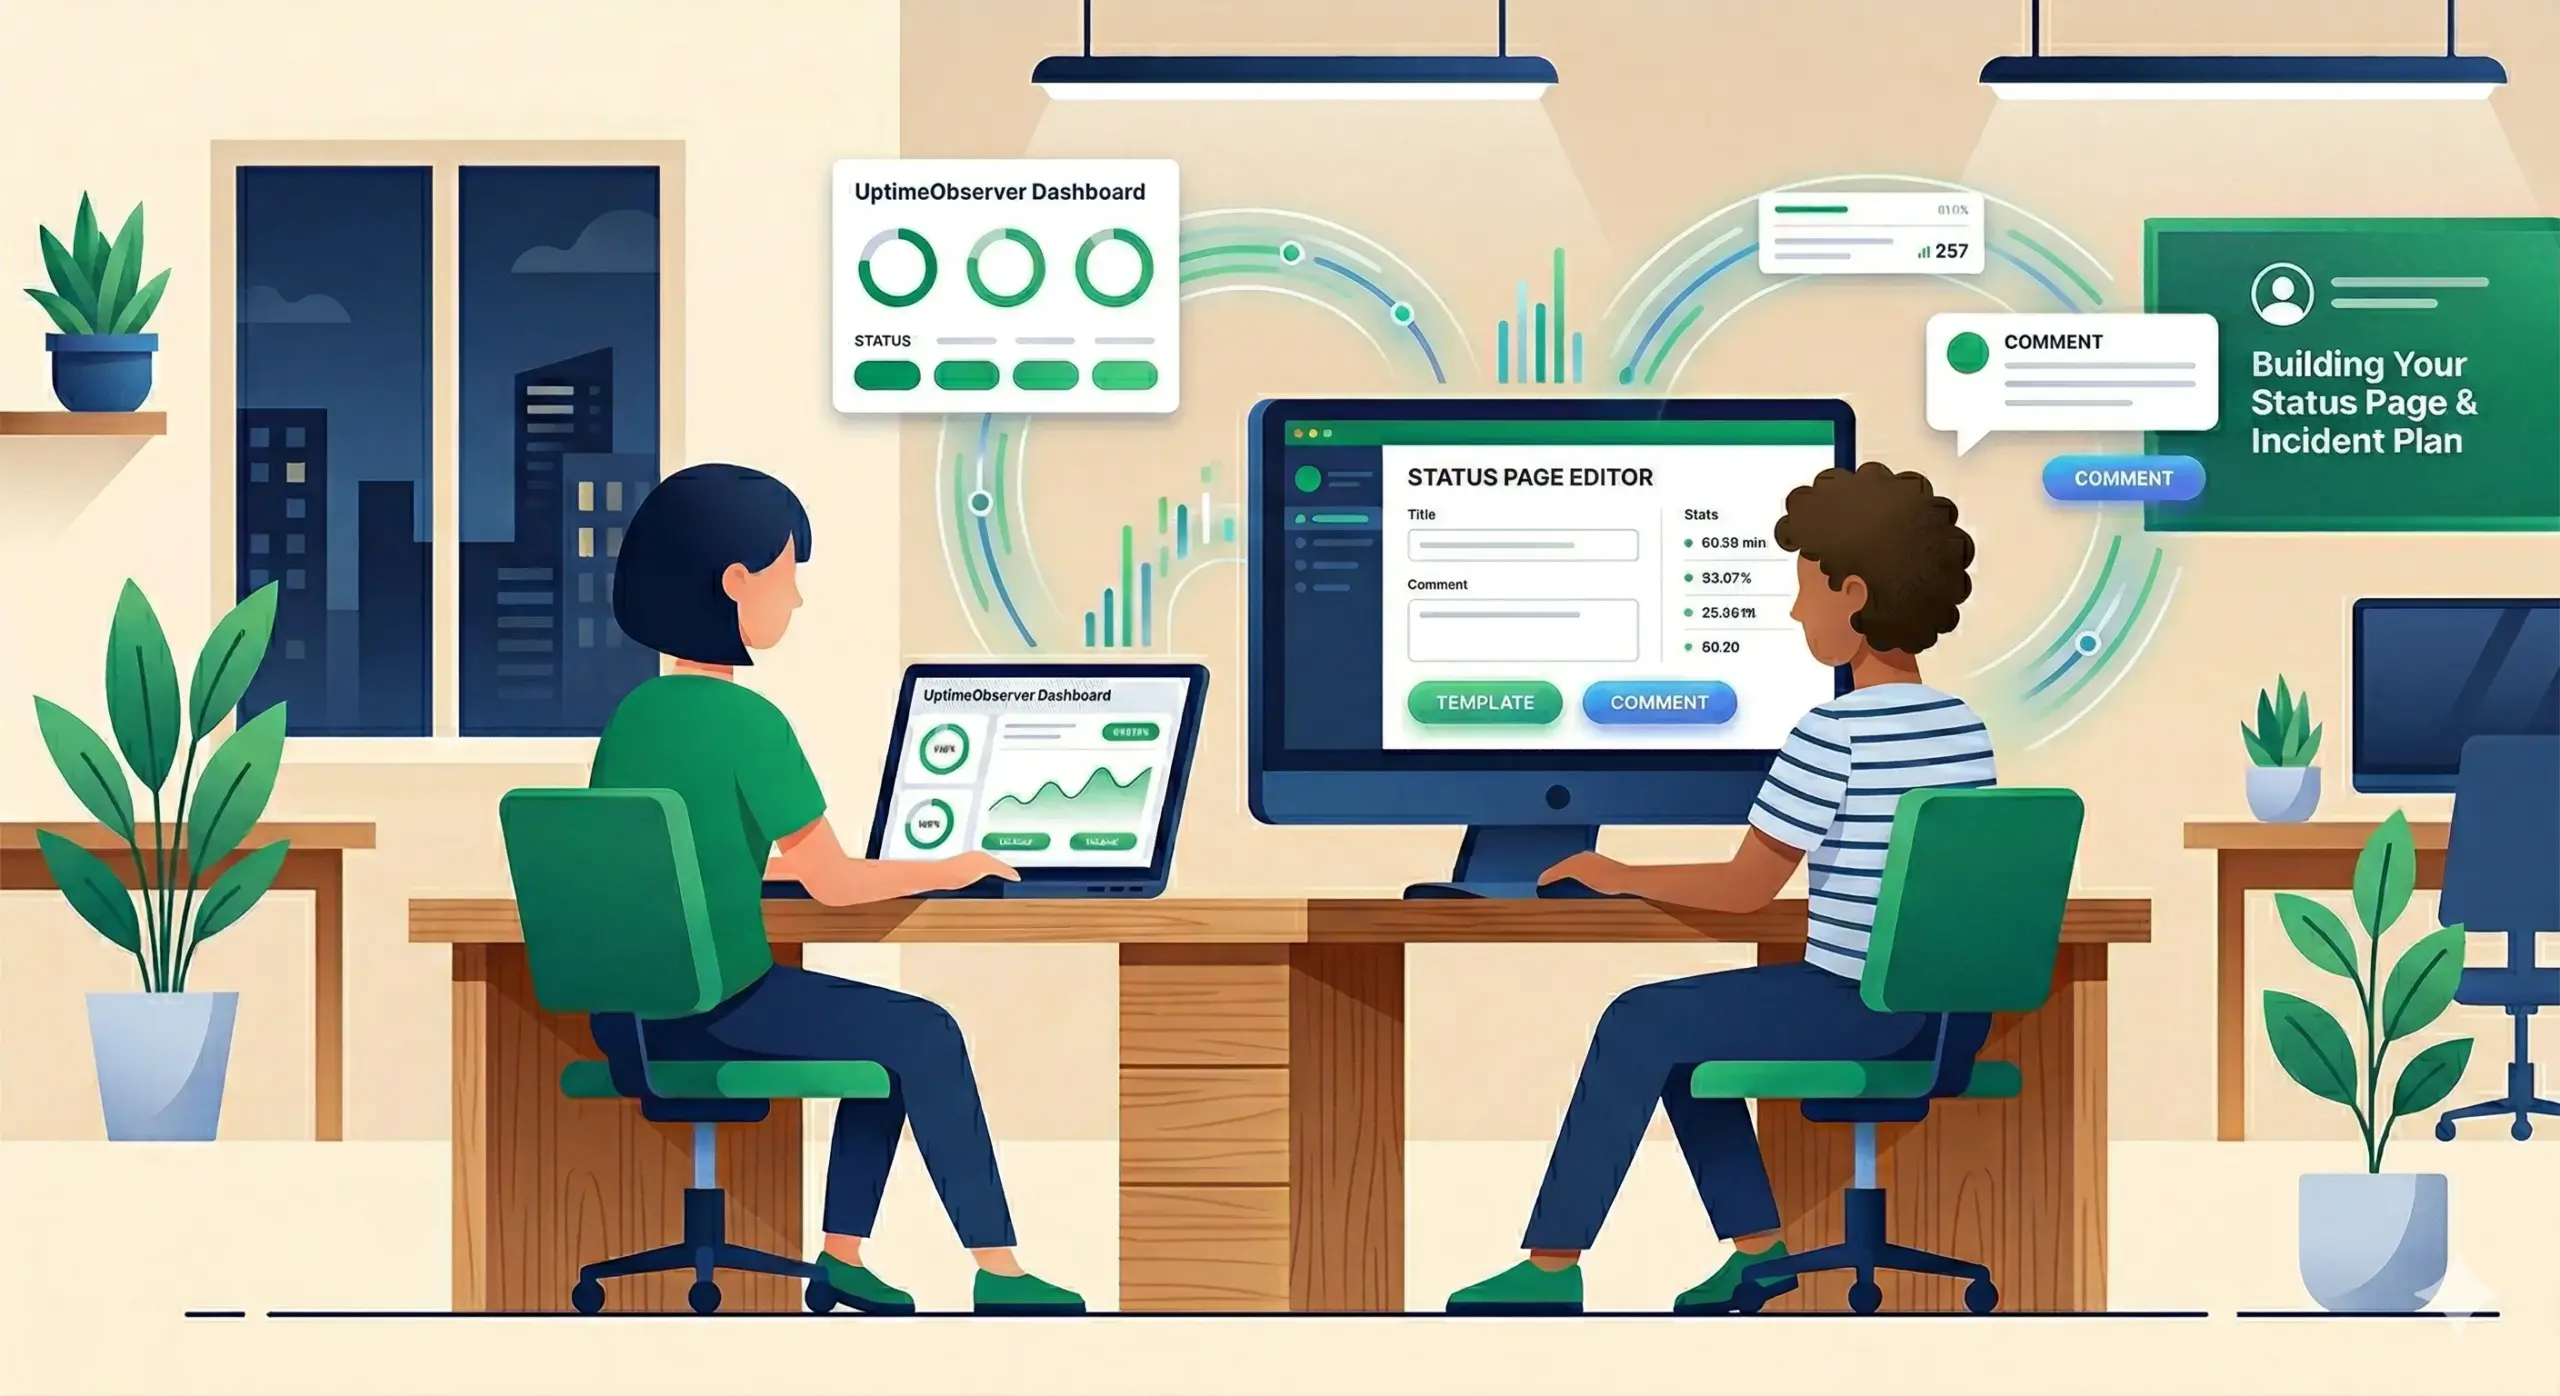
A modern incident plan relies on automated incident creation.
Using a tool like UptimeObserver, your monitoring system handles the first step for you:
- Smart Status Updates: If one monitor fails, the status page automatically updates to “Partially Degraded.” If all monitors fail, it updates to “System Down.”
- Instant Root Cause: The system automatically publishes the exact technical failure to the incident (e.g., “root cause: HTTP 404 Not Found” or “root cause: socket timeout”).
Pro-Tip: Configure Your Retries To avoid triggering public incidents for 5-second micro-blips, configure your monitoring retries. UptimeObserver defaults to 1 retry before declaring an incident, ensuring you are only alerted to legitimate outages.
Step 2: Keep Your Small Team Synced (The “Mini War Room”)
Once the automated incident is live, you need to coordinate—even if your “team” is just you and a freelance developer, or a partner answering support emails.
You don’t need a complex corporate escalation matrix, you just need to not talk over each other. When you log into the UptimeObserver dashboard, navigate to the Incident Details page. Here, you can post Private Comments.
These comments are hidden from the public status page but keep whoever is fixing the bug and whoever is talking to customers perfectly synced, without having to dig through messy Slack threads.
Step 3: Publish Public Updates (The Human Element)
While the system automatically alerts the public that an error occurred (like a socket timeout), it is up to you to provide context and reassurance.
Whoever is handling support that day should step in to add Public Comments to the automated incident. You should have templates prepared in advance so you don’t have to think about copywriting during a crisis.
Free Incident Update Templates (Ready to Copy)
Save these templates to copy and paste into your UptimeObserver dashboard as Public Comments during an active incident.
1. The “Acknowledge & Contextualize” Update
Use this as your first manual comment on the auto-created incident. It translates the technical error into human terms.
Status Update: We are actively investigating the [HTTP 404 / Socket Timeout] error highlighted above. This is currently affecting [Specific Feature or “our main website”]. We have been alerted and are diagnosing the root cause right now. We apologize for the inconvenience and will provide another update in [XX] minutes.
2. The “Degraded Performance” Update
Use this when you have identified the issue, but it only affects part of the system (aligning with the “Partially Degraded” status).
Status Update: We have identified an issue causing degraded performance within [Feature Name]. The rest of the site remains fully functional. We are actively working on a fix to restore normal speeds. Next update in [XX] minutes.
3. The “Ongoing Outage” Update
Use this for extended downtime to assure users you haven’t abandoned the issue to go grab a coffee.
Status Update: We are continuing to work on a fix for the current outage. We have isolated the issue to [mention the component, e.g., “our database provider / web host”] and are working directly with them to restore service. We appreciate your patience and will update this page every [XX] minutes until the system is fully restored.
4. The “Resolution & Monitoring” Update
Use this when the fix is deployed but you are still verifying it before closing the incident.
Status Update: We have deployed a fix for the issue and are currently seeing services return to normal. We will continue to monitor the system closely to ensure stability before marking this incident as fully resolved.
Stop Writing “Investigating” Posts Manually
When you run a small business, you don’t have time to manually manage outages. If your uptime monitor only checks your site every 5 minutes and requires you to manually create status page alerts, you are losing customer trust before you even know you have a problem.
UptimeObserver acts like an extra team member. It checks your endpoints, ports, and SSL certificates every 30 seconds. The moment a failure is verified, it auto-generates the incident, updates your status page to “Partially Degraded” or “System Down,” prints the exact root cause, and pings your Slack, Discord, or Telegram.
You can focus on fixing the server, not writing the initial outage post.

